Before you start
Downloads require an active Pro subscription. Save your map first. Complete Profile Settings before using a branded PDF layout.
Watch: Choose Presentation and Print 2×, then explore PDF layouts
Silent screen recording with captions. Sample project, current editor controls.
Read the video transcript
Open Download. On Image, select Presentation for 1920 by 1080 layout dimensions. Select Print 2× for 3840 by 2160 output. Select Template to see the PDF layouts. The clip demonstrates settings; click Download only after reviewing your own preview.
Follow along
Step 1 of 5Open Download
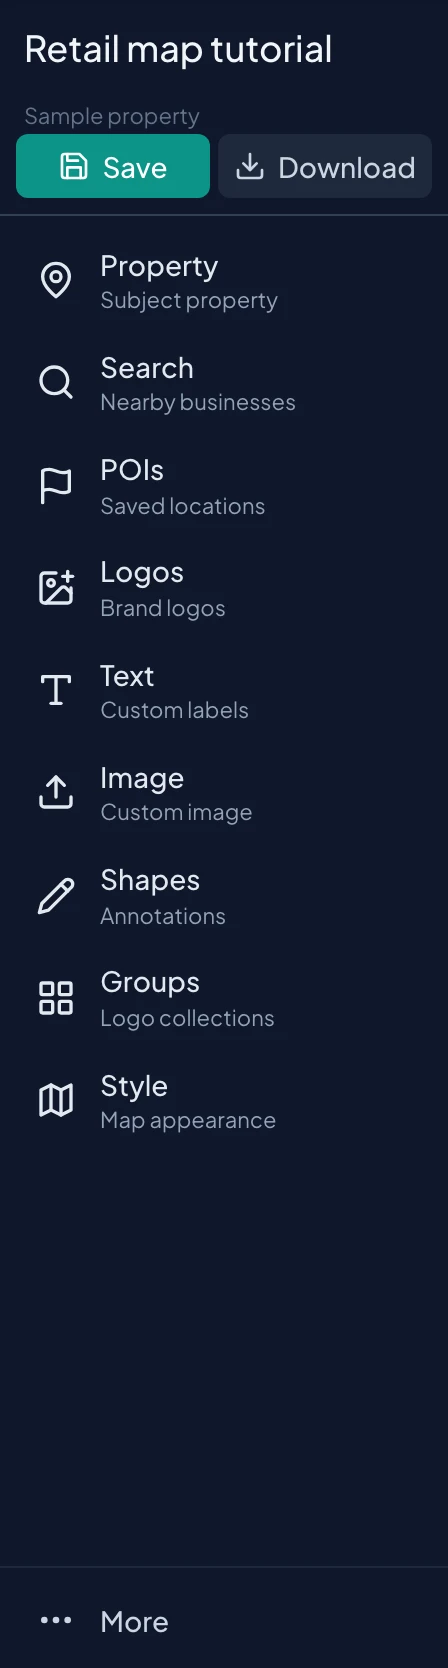
Click Download beside Save above the desktop sidebar tools. On smaller screens, open the editor tools drawer first.
How-to 1
Prepare the map before opening Download
- 1
Save the current composition
Click Save and wait for the Saved status. Confirm the subject location, business identities, and leader-line anchors. Remove placeholders and resolve any save error before treating the map as final.
- 2
Check the destination
Decide whether you need an image for a slide, listing, or email, or a branded PDF. Choose the intended orientation before spending time fine-tuning a composition that may later need a different aspect ratio.
- 3
Check Pro and profile details
Downloads require Pro. For PDF branding, complete Profile Settings and click Save Profile. The template preview will show which saved profile fields that layout uses.
- 4
Open the export workspace
Click Download beside Save in the sidebar area. On a smaller screen, use Open panel first. The export workspace provides Image and Template tabs, controls, and a preview.
How-to 2
Choose PNG or JPG
On the Image tab, PNG provides a lossless image suitable for clean logos, linework, and slide graphics. JPG produces a smaller file and can be useful for email or image-heavy output. Compare the actual downloaded result if file size and small lettering are both important.
The map includes its base imagery, so choosing PNG should not be interpreted as a promise of a transparent map background. Use the format for the quality and file-size needs of the finished composition.
How-to 3
Choose the layout and frame the preview
- 1
Start with Current View
Current View starts from the editor framing. Use it when the current aspect is appropriate, or select a named layout to fit a known destination. Review the preview each time you change the aspect ratio.
- 2
Select a layout
Choose Letter Landscape, Letter Portrait, A4 Landscape, Presentation, Social Media, Square, or Tabloid Landscape. The displayed dimensions describe the layout before the output-quality multiplier is applied.
- 3
Use Custom when needed
Select Custom to reveal Width (px) and Height (px). Enter the intended dimensions and review the result. The accepted maximum depends on the view and output-quality setting.
- 4
Frame inside the preview
In the 2D preview, adjust the map framing so the important content fits the selected layout. Inspect all edges for clipped logos, labels, or connectors. Changing pixel count is not a substitute for positioning the content within the chosen aspect ratio.
| Layout | Standard layout dimensions |
|---|---|
| Letter Landscape | 1650 × 1275 |
| Letter Portrait | 1275 × 1650 |
| A4 Landscape | 1754 × 1240 |
| Presentation | 1920 × 1080 |
| Social Media | 1200 × 630 |
| Square | 1080 × 1080 |
| Tabloid Landscape | 2550 × 1650 |
How-to 4
Set Standard or Print 2× output quality
- 1
Understand Standard
Standard exports at the displayed layout dimensions. For Presentation, that is 1920 × 1080. Use it when those dimensions suit the destination and you want a lighter file.
- 2
Use Print 2× for 2D output
Print 2× doubles both output dimensions while keeping the framing. Presentation becomes 3840 × 2160. It improves the rendered output density but does not create detail missing from a low-quality uploaded image.
- 3
Read the final output dimensions
Check the download button for the actual format and pixel dimensions. 2D output supports up to 8000px per side. At Print 2×, the layout must fit inside that maximum after doubling, so the layout limit is lower.
- 4
Download and inspect
Click the button showing the output format and dimensions. Wait for the operation and browser download to finish. Open the file and check dimensions, lettering, image quality, and all four edges. Inspect it at its intended viewing size.
How-to 5
Create a branded PDF
- 1
Choose Template
Switch to Template and select one of the five layouts. Review the arrangement before editing colors. Different layouts reserve different amounts of space for the map and profile information.
- 2
Set the output title
Edit Title in the export panel when you need a particular heading for the PDF. Review the title in the template preview. This export title should not be confused with changing the saved project title in the editor.
- 3
Choose Brand Color
Use the custom color control or an available color preset. Some presets reference brokerage colors; verify them against your own current branding. The preset also sets its associated accent treatment.
- 4
Review profile fields
Check the company logo, agent details, contact information, and property text actually shown by that template. If information is missing, use Edit Profile, save the profile, then reopen or refresh the export preview as needed.
- 5
Download the PDF
Click Download PDF. Open the resulting document and inspect the map, heading, logo, and contact blocks at normal page size. Do not assume the document is correct merely because the download completed.
| Template | How to choose |
|---|---|
| Professional Flyer | Review when you want a branded flyer treatment. |
| Clean Minimal | Compare when a restrained page layout suits the presentation. |
| Property Detail | Review the layout when property and contact details are important. |
| Compact Card | Compare a compact presentation of the map and branding. |
| Presentation | Review for a presentation-oriented composition. |
How-to 6
Export a 3D scene
Set the camera in the 3D editor before opening Download. Wait for the scene to settle, verify overlays and name tags, then save. The exported scene should be judged at that camera angle, not only from the 2D view.
3D image exports support up to 4096px per side and render on the server. The 2D Print 2× workflow is not offered as the same quality control for 3D. Check the dimensions and preview in the 3D export workspace. For a PDF, review how the 3D image fits inside the selected template.
How-to 7
Resolve export problems
| Problem | Next step |
|---|---|
| The output crops a logo | Adjust the preview framing or reposition the overlay. A bigger pixel size with the same aspect does not necessarily reveal more map. |
| Custom dimensions change after selecting Print 2× | The final output still has a maximum dimension. Reduce the layout size or use Standard. |
| Profile details are missing | Save Profile, reopen the export, and check a layout that supports the needed fields. |
| A logo is blurry | Use a clearer source image. More output pixels cannot repair the original artwork. |
| A download fails or stalls | Read the error, confirm connectivity and Pro access, then try smaller dimensions. For 3D, allow time for the server render. |
| The file saved somewhere unexpected | Check the browser's downloads list and destination folder. Verify the latest file rather than an older similarly named export. |
Check your result
Open the downloaded file and check the dimensions, framing, artwork, labels, and contact information.
Tips and troubleshooting
- For example, Presentation at Standard is 1920 × 1080. Print 2× produces 3840 × 2160 with the same framing.
- PDF layouts use different subsets of profile fields. Verify the selected layout and your current brand colors.
- If export fails, read the error, confirm Pro access and connectivity, then try a smaller output. 3D exports render on the server.
Read the quick walkthrough as text
- Open Download. Click Download beside Save above the desktop sidebar tools. On smaller screens, open the editor tools drawer first.
- Choose image format and quality. On Image, choose PNG or JPG. For 2D maps, Standard uses the layout dimensions; Print 2× doubles each output dimension while preserving framing. Read the final dimensions on the download button.
- Choose layout and framing. Use Current View to start with the editor framing, or choose Letter Landscape, Letter Portrait, A4 Landscape, Presentation, Social Media, Square, Tabloid Landscape, or Custom. Custom exposes Width (px) and Height (px). Check the preview before downloading.
- Download the image. Use the download button showing the format and output dimensions. 2D output supports up to 8000px per side; 3D supports up to 4096px. The layout size limit adjusts for the output quality.
- Create a PDF instead. Choose Template, then Professional Flyer, Clean Minimal, Property Detail, Compact Card, or Presentation. Set the title and brand colors, review the profile details, then click Download PDF.
Explore the retail map software overview for the full workflow.