


CRE Retail Maps turns a property address into a polished, branded retail map in minutes. This guide walks you through your dashboard, creating your first map, and finding your way around the editor.
Your Dashboard
The Dashboard is your home base. It shows every saved map as a preview card with the map title, last-edited time, and a thumbnail.
- Click "New Map" - start the map creation flow, where you search for your subject property address.
- Click any map card - reopens it in the editor exactly as you left it; every overlay, style, and position is preserved.
- Use the search bar - find maps by name instantly as you type. Helpful once you have many maps.
- Sort your maps - order by Updated, Created, or Title from the sort dropdown.
- Use the download icon on a card - export directly without entering the editor.
- Use the trash icon - delete a map after a confirmation dialog. This cannot be undone.
Creating a New Map
Every map starts by searching for the subject property address. The map centers on that location at a zoom level ideal for retail site plans.
- Click "New Map" from the Dashboard.
- Search for an address - start typing and pick from Google autocomplete. Full addresses, intersections, and place names all work.
- Name the property (optional) - this label appears on the subject property overlay and can be changed later.
- Choose a marker style - use your company logo (if uploaded in Profile Settings), a preset marker (5 pins, 2 stars, 3 shapes), or upload a custom image.
- Click "Continue" to open the editor with your subject property already placed.
The Map Editor
The editor is your main workspace. A left sidebar holds 8 tool tabs; the map canvas fills the rest of the screen; a floating quick toolbar at the bottom provides undo/redo and batch styling.
- Left sidebar (8 tools) - Subject Property, Nearby Places, My POIs, Brand Logo, Text Label, Upload Image, Draw Shape, and Map Style.
- Map canvas - drag to pan, scroll to zoom. Every overlay lives on the canvas.
- Drag overlays to reposition; drag the corner handle to resize. Logos keep their aspect ratio; text auto-scales its font.
- Double-click an overlay (or use its hover toolbar) to edit it.
- Quick toolbar - undo/redo plus panels for Batch Text, Batch Image, Leader Lines, and Layers.
Ready to build? Open the editor and create your first map free.
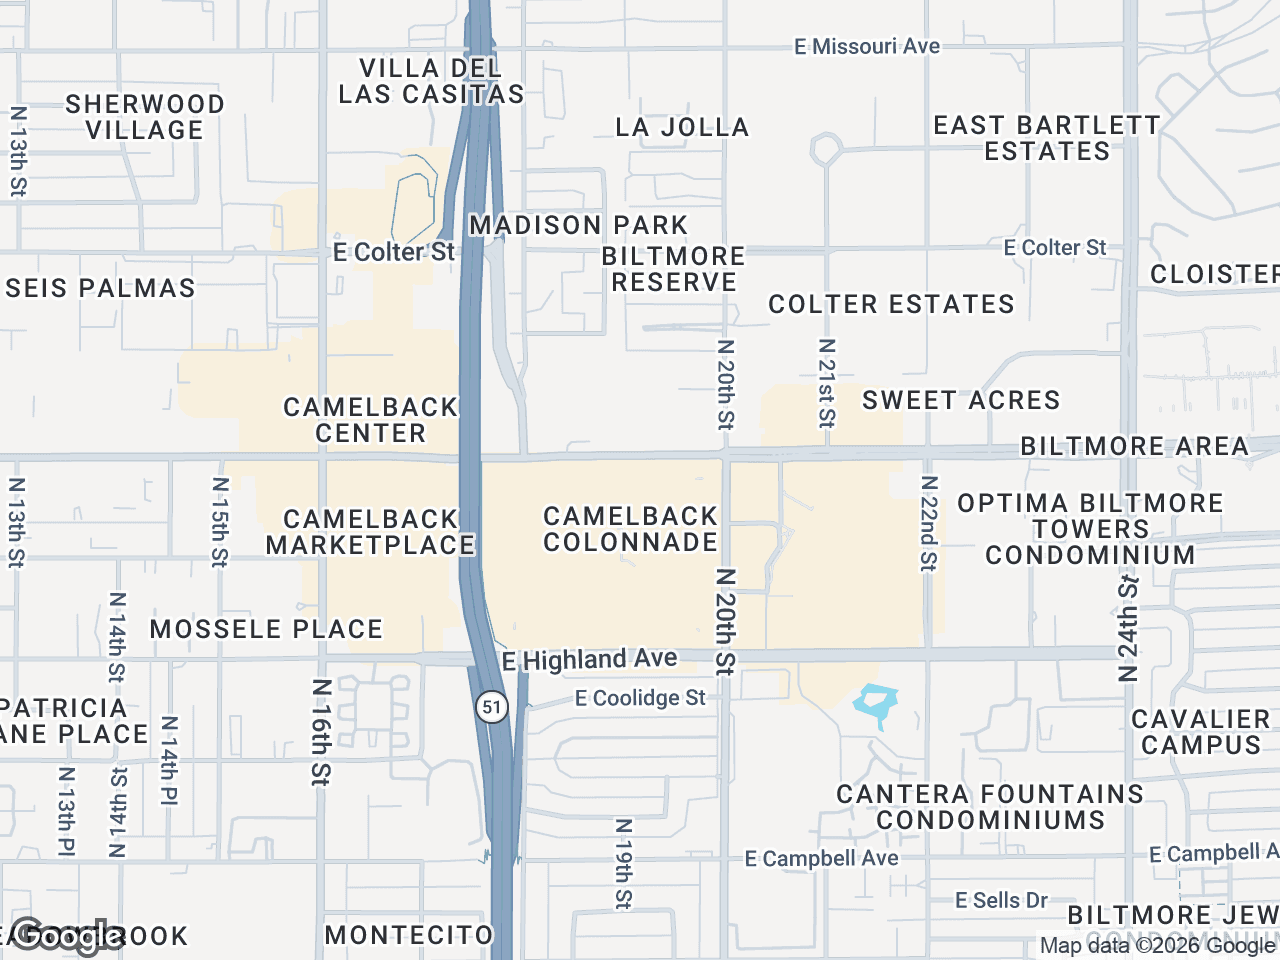
Example: from address to first map
Suppose you're marketing a vacant 4,200 SF endcap at a Phoenix strip center. Click New Map, type the center's address, and choose your RE/MAX logo as the marker. The editor opens centered on the property. From here you would add the anchor tenants, label the available space, and export a branded PDF - the whole map takes about 10 minutes start to finish.